17 January 2010

Booties for the baby

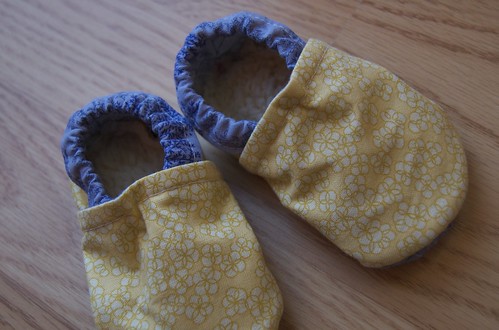
DSC_5909
Aren't these the cutest little shoes?!

I made these with fabric scraps! Wow! I love baby projects.
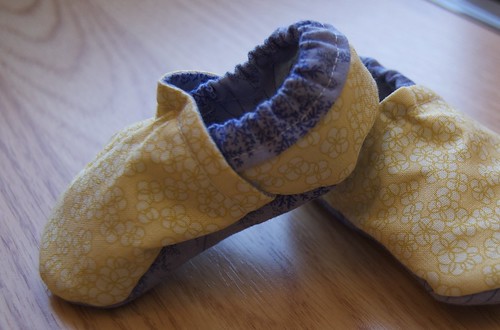
DSC_5912
The shoes have a faux sherpa/faux suede sole (the fabric is called bonded fleece). So the baby's foot rests on the fuzzy sherpa and the suede adds some extra padding to the sole (I covered the suede in purple fabric but you could leave it showing for a bit of traction). They are fully lined and washable.

The shoes are 0-6-month size, so they "should" fit for quite a while.

I will definitely make more! Check out the gallery of booties on Flickr.

---
Note about bonded fleece fabric: It's very hard to find. The pattern recommends getting it at Joann's - but I was told that they discontinued it a few years ago. The name is rather deceiving, so don't bother asking for it at the craft store. Look for faux sherpa (fuzzy white) on one side, with faux suede on the other side. After searching every large chain fabric store in town, I finally found it at a local store. If you are interested in buying some of mine, leave me a comment and let me know. It sure "makes" the shoes.

15 January 2010

Ready to quilt!

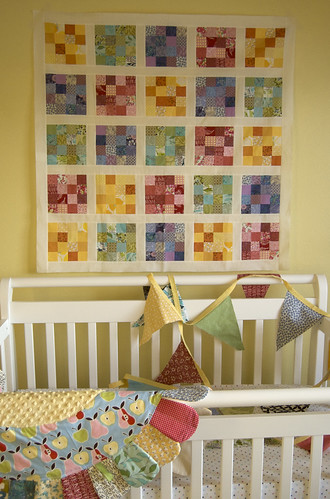
DSC_5907

Last night I finished the top of the nursery quilt. I was debating adding a border, but once I hung it on the wall, I decided it was great as-is. I absolutely love this quilt – and not just because it's for the baby!

It coordinates really well with the playmat and the flag garland and ... (I've got more projects in the works).

Time to get quilting ...

10 January 2010

The crib quilt

DSC_5888

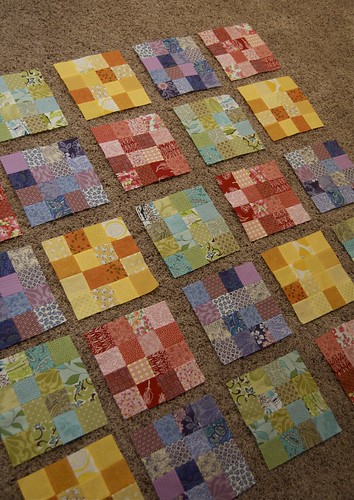
This quilt has been a work in progress for longer than I care to mention (ahem ... I fist blogged about it last April). Luckily it now has more significance than I even intended – it will be our baby's first quilt! It will hang above the crib.

All the blocks are done, now I am working on sewing on the white sashing. The finished quilt will be somewhere between 40x40 and 50x50 inches, depending on if I decide to do for a border, or not.

I love how the red/pink blocks remind me of the Strawberry Shortcake (the doll, not the food), and the orange/yellow blocks make me think of baby chickens, and the green/aqua squares ...

I have high hopes for some major progress this week, so stay tuned.

08 January 2010

Dresser and chair makeover

We were very fortunate that we received a few family hand-me-down heirloom pieces for the baby's nursery.

The biggest project was a dresser that originally belonged to Corey's Great Grandmother and was handed-down to Corey's dad, and to Corey and his siblings. It was a simple, nine-drawer dresser, stained with a light finish.

DSC_5579
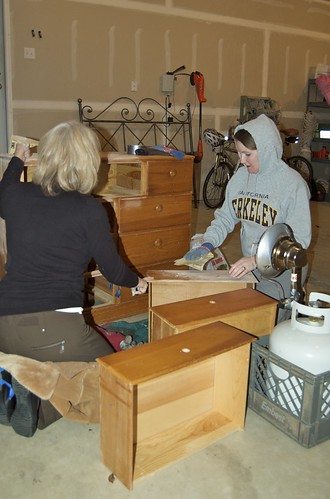
My mom and I lightly sanded the surface to remove the shiny texture and prepare for painting. If you've ever sanded furniture, you know it is not an "indoor activity" so we took our project to the garage. Because it was so chilly, we huddled around a propane heater. Surprisingly, we were toasty warm even though we could see our breath.

DSC_5582
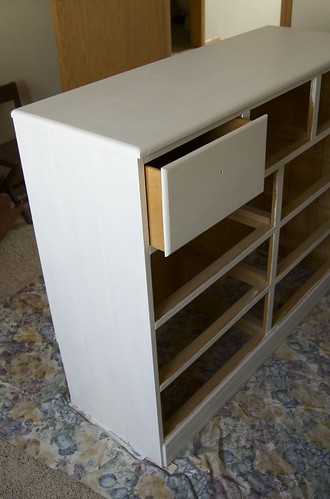
My mom helped with the painting, I supervised. Here it is after a few coats of white.

DSC_5868
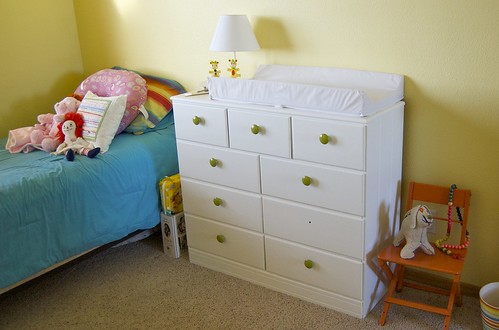
Finished and in the nursery! We spray-painted the knobs green (the knob that was missing in the photo has been found).

DSC_5445
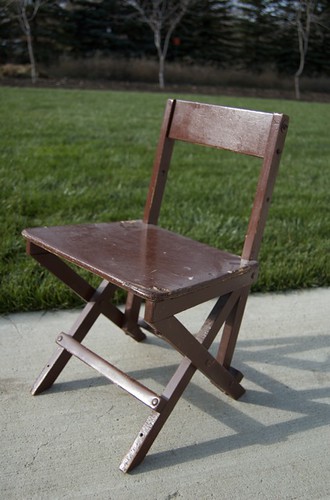
This little chair belonged to Corey. As you can see, it was in need of some TLC.

DSC_5866
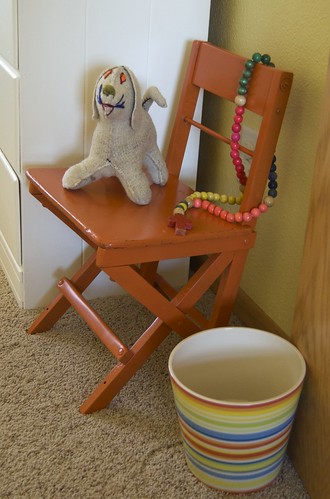
My dad came to the rescue with putty, sand paper, and spray paint. I absolutely love our "new" little chair.

Thanks to my parents for all their help and to Corey's parents for the great nursery furniture! I think there is something very special about using family furniture that is already rich in memories and love, and we're very fortunate that we have the chance to cary on the tradition.

03 January 2010

Fabric flag pennant garland

DSC_5876
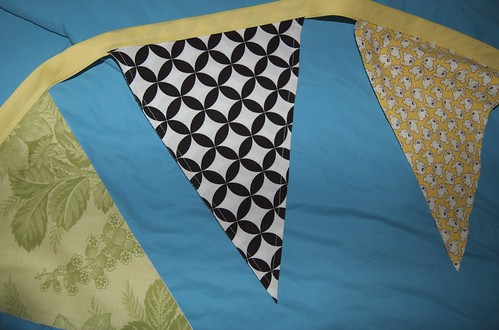
This fabric flag pennant banner will hang high above the baby's crib ... kind of like a mobile. I made the banner the "fast easy" way – with top-stitching and store-bought bias tape. It's also a great way to use up some scraps. Want to make one? I'll show you how!

For those wondering about safety – the banner will be very well secured in many spots, so even if one hook should fail, it will not fall on the baby.

DSC_5884
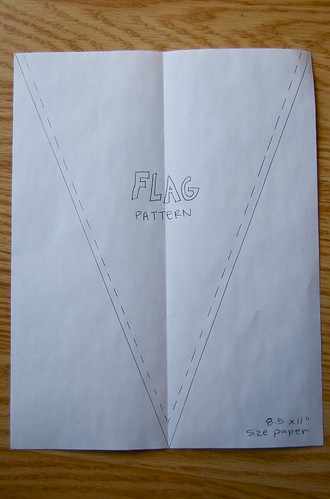
I made my own flag template with an 8.5x11-inch piece of paper (shown above). Cut it out on the solid lines.

Cut two from each of your selected fabrics (one for the front and one for the back). I used my rotary cutter, which really made the process fast.

Using my template, you'll need roughly four pairs of flags per yard of banner.

Sew (topstitch) each pair of flags together, right sides facing out. Sew 1/4 inch from edge, on the two longest sides (see dashed lines on template).

DSC_5886
Pin and sew the flags about two inches apart, to the binding/bias tape. I left about 10 inches of bias tape on each end of my banner, for easier hanging.

That's it! Easy, hunh?!

I think it'd be fun to make these for birthdays or holidays - words like "Thanksgiving" or "Happy Birthday" could be appliqued to the flags too. Or red and green flags, with "Merry Christmas" ... Oh the possibilities!

Happy sewing